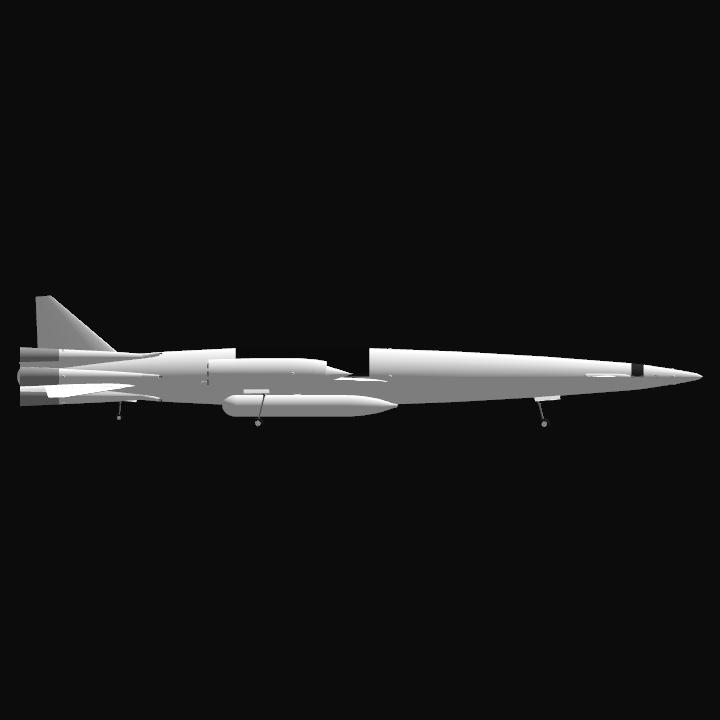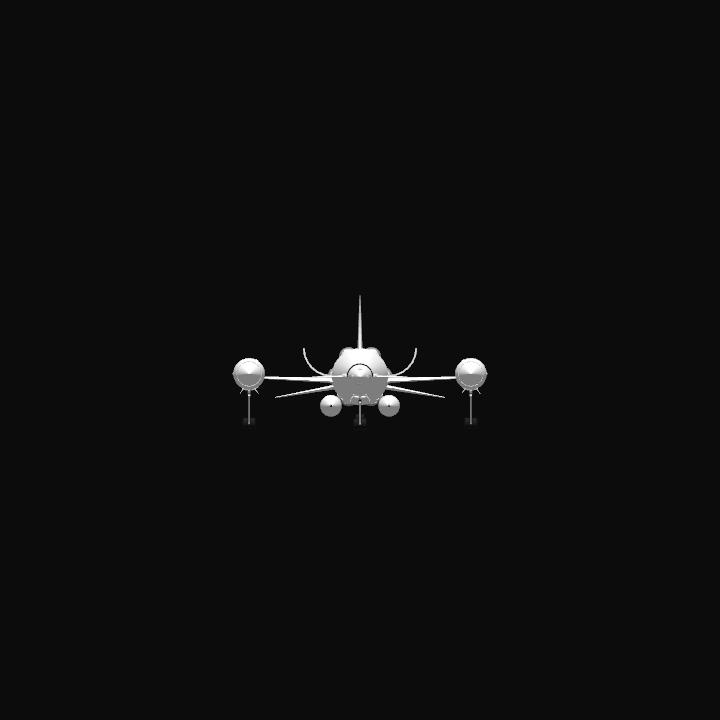

OV-909 “Pulsar”
Single Stage To Orbit
Horizontal Take Off & Landing
Heavy Lift Vehicle
Specifications:
Crew: 0 (Autonomous Orbital Vehicle)
Length: 51.1m
Wingspan: 19.0m
Height: 10.1m
Wing Area: 157.46m^2
Wing Loading: 396-2076kg/m^2
Dry Mass: 62.4t
Wet Mass: 287t
Fuel Capacity: Kerolox: 186t / Jet Fuel: 17.3t + 19.2t
Payload to LDO: 40t
Cargo Bay Dimensions: 8m x 4.25m Cylindrical
Maximum Atmospheric Speed: Mach 3.5
Maximum Atmospheric Range: 3000km
Total dV: Jet Engines: 2.24km/s + 2.21km/s / Chemical Rockets: 3.79km/s
Isp: Jet Engines: 5440s Regular, 3,336s Afterburning / Chemical Rockets: 270s-321s
TWR: Jet Engines: 0.53-0.61 / Chemical Rockets: 0.93-3.08
Takeoff Velocity: 180 m/s
Takeoff Roll Length: 3.1km
Landing Velocity: 100 m/s
Landing Roll Length: 1.8km
Maximum Re-Entry Weight: 80t
Maximum Return Cargo Weight: 20t
-
OV-909 “Pulsar” is a HTOL SSTO, meant to carry heavy payloads into orbit at a fraction of the cost of conventional launch systems that discard all their expensive machinery when staging.
While its spaceplane configuration with airbreathing engines for the first stage of its flight makes it have far worse of a fuel fraction compared to a rocket SSTO, it is the key for its heavy lift capability, providing the plane with nearly one third of its orbital velocity and a fair bit of distance from the thickest portions of the atmosphere, before it ever engages its rocket engines.
This configuration, while adding significant amounts of dead weight in orbit, makes it capable of lifting extremely heavy payloads that would usually require far larger launch vehicles with bigger infrastructure required to support them.
However, the cargo bay size unfortunately does not allow any heavy, yet non-compact payloads, such as large space station parts, and thus the only payloads that can take full advantage of its heavy lift capability are fuel tanks and resupply pods.
Although, this does make the vehicle excellent for orbital resupply and refueling, perfect to support any orbital craft that needs to be resupplied there after getting into orbit to continue with its journey, or a mothership that transports cargo between planets.
This is even less of a downside when you consider the fact that, without any cargo, the vehicle ends up in orbit with around 1.2 to 1.6 km/s of delta V. This makes it capable of flying out to deostationary orbit, or even one of the moons of droo, to service any satellites that may need maintenance, or perhaps even to bring one back to droo.
However, one does need to keep in mind the fragility of the vehicle in regards to reentry, as it cannot survive a reentry while weighing more than 80 tonnes. Given that the dry weight of the vehicle is around 60 tonnes, this means that the maximum return payload capacity of the vehicle is 20 tonnes, far from perfect, but good enough for most missions.
Apart from simple cargo delivery missions, the vehicle can easily be equipped with a crew pod for space tourism or astronaut delivery, and even potentially used for military purposes, such as, testing/fielding orbital weaponry, orbital bombardment of enemy bases, reconnaissance and more.
The vehicle is equipped with many advanced features, such as an experimental SAS system to make it easier to pilot the craft, auto-brake system and more.
While its surplus of delta V makes it rather easy to place into orbit, good piloting of the craft does lead to better results. Here is the recommended mission profile for the craft:
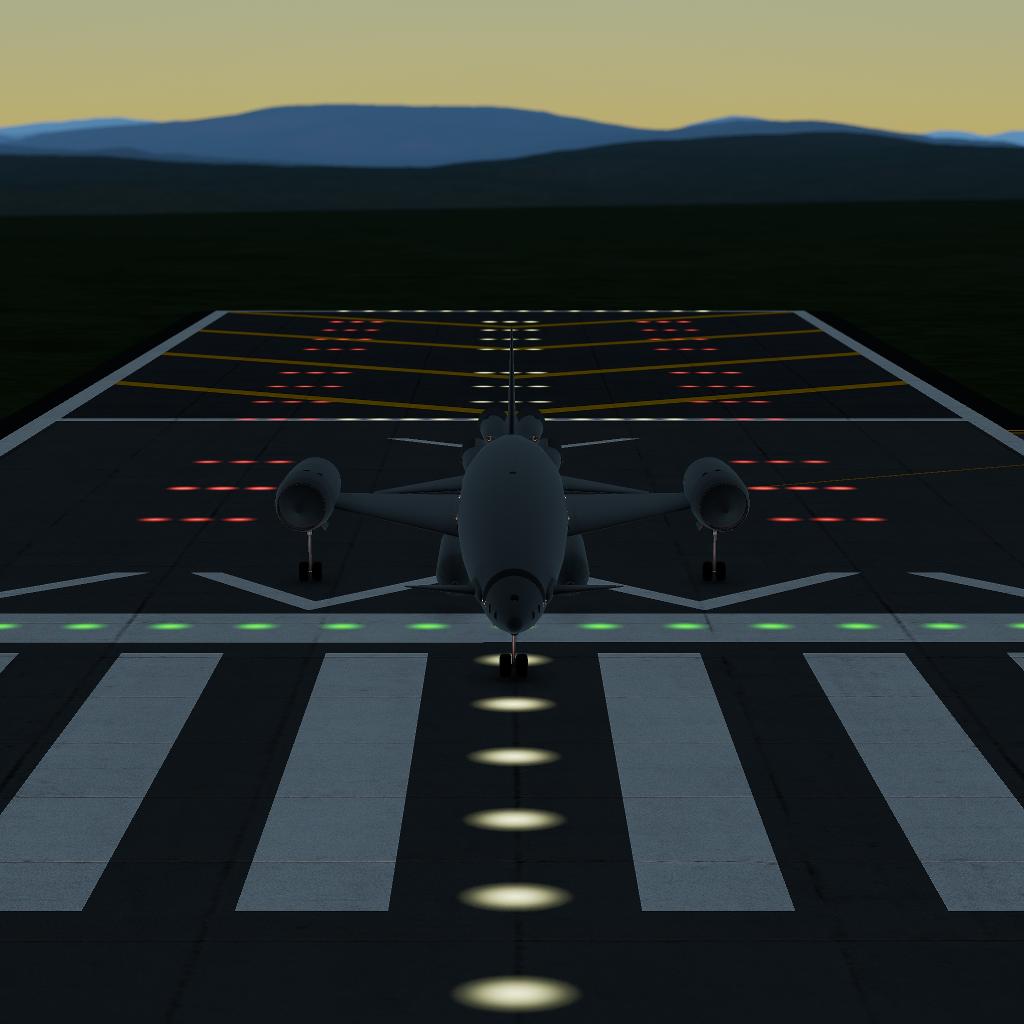
Take-off has to be done from a suitable runway, it has to be long, fairly flat, and ideally lead to a drop off instead of a mountain infront of it.
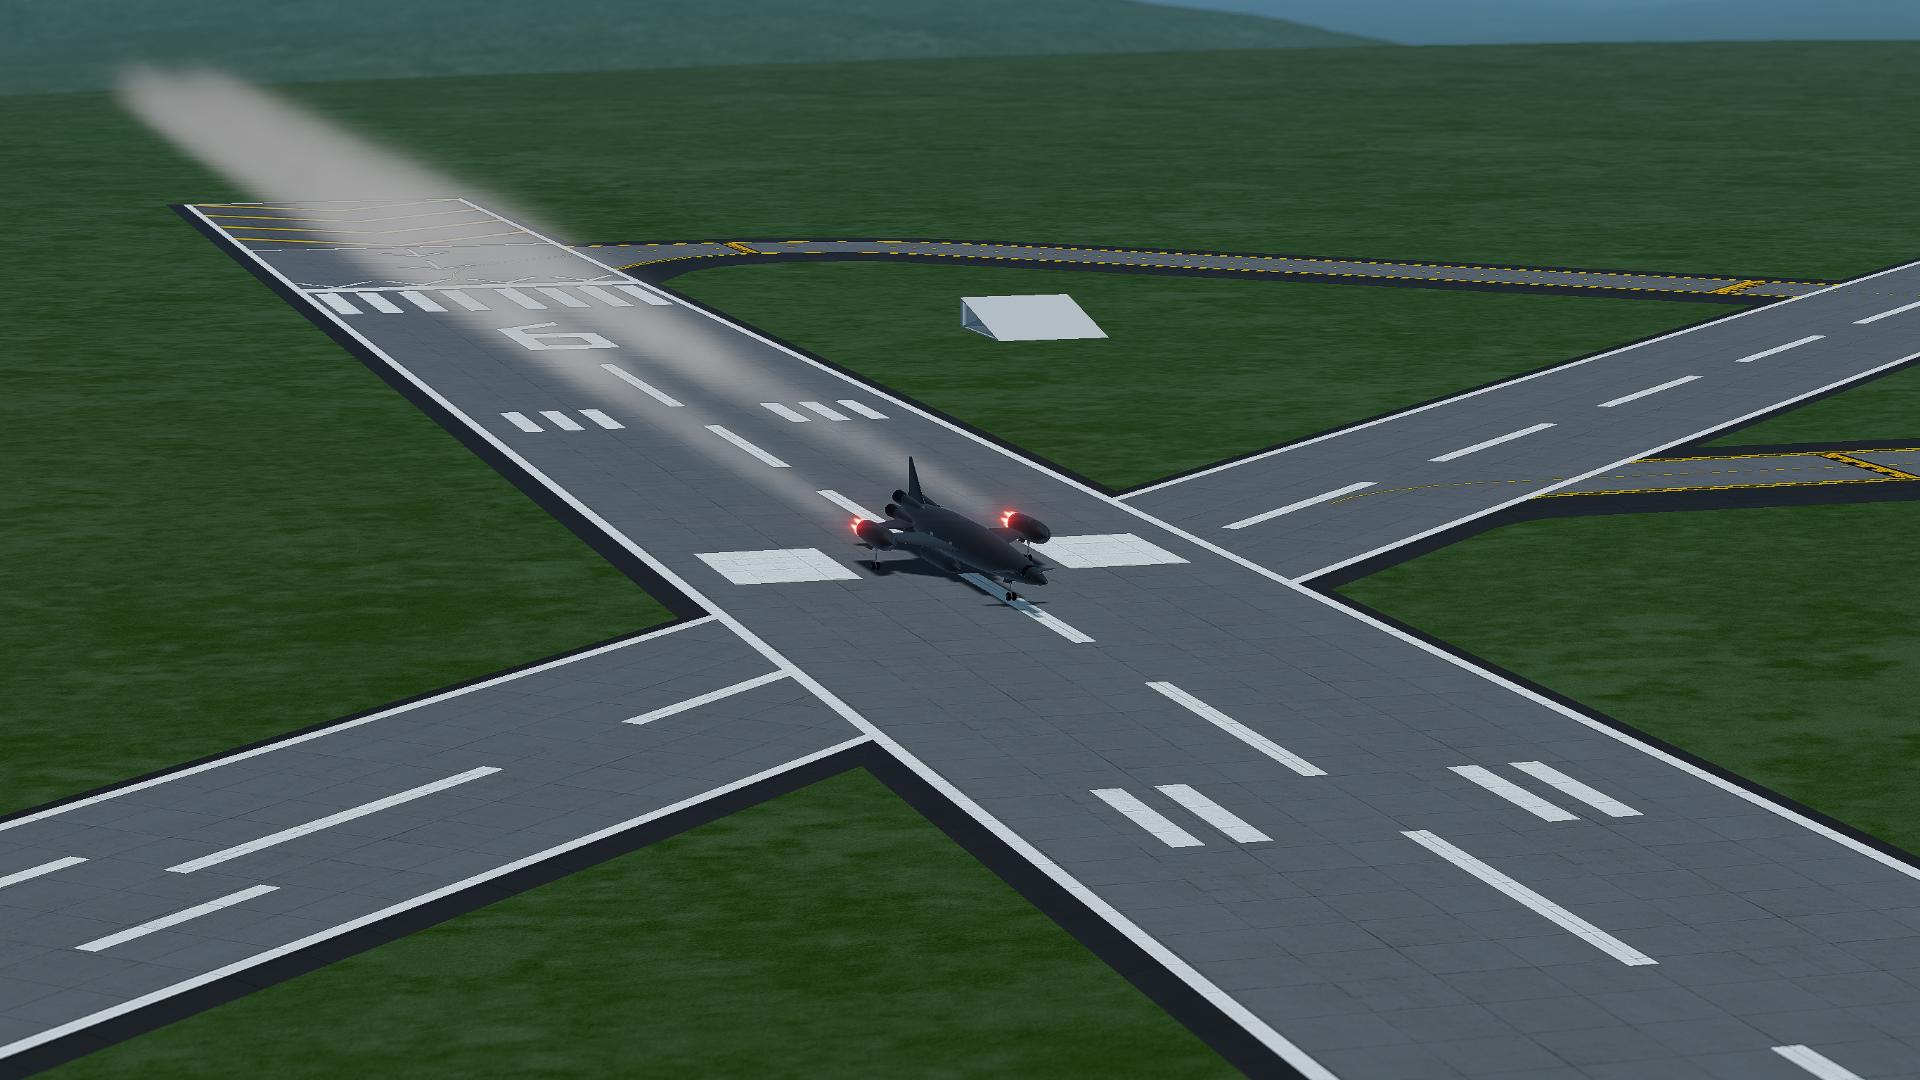
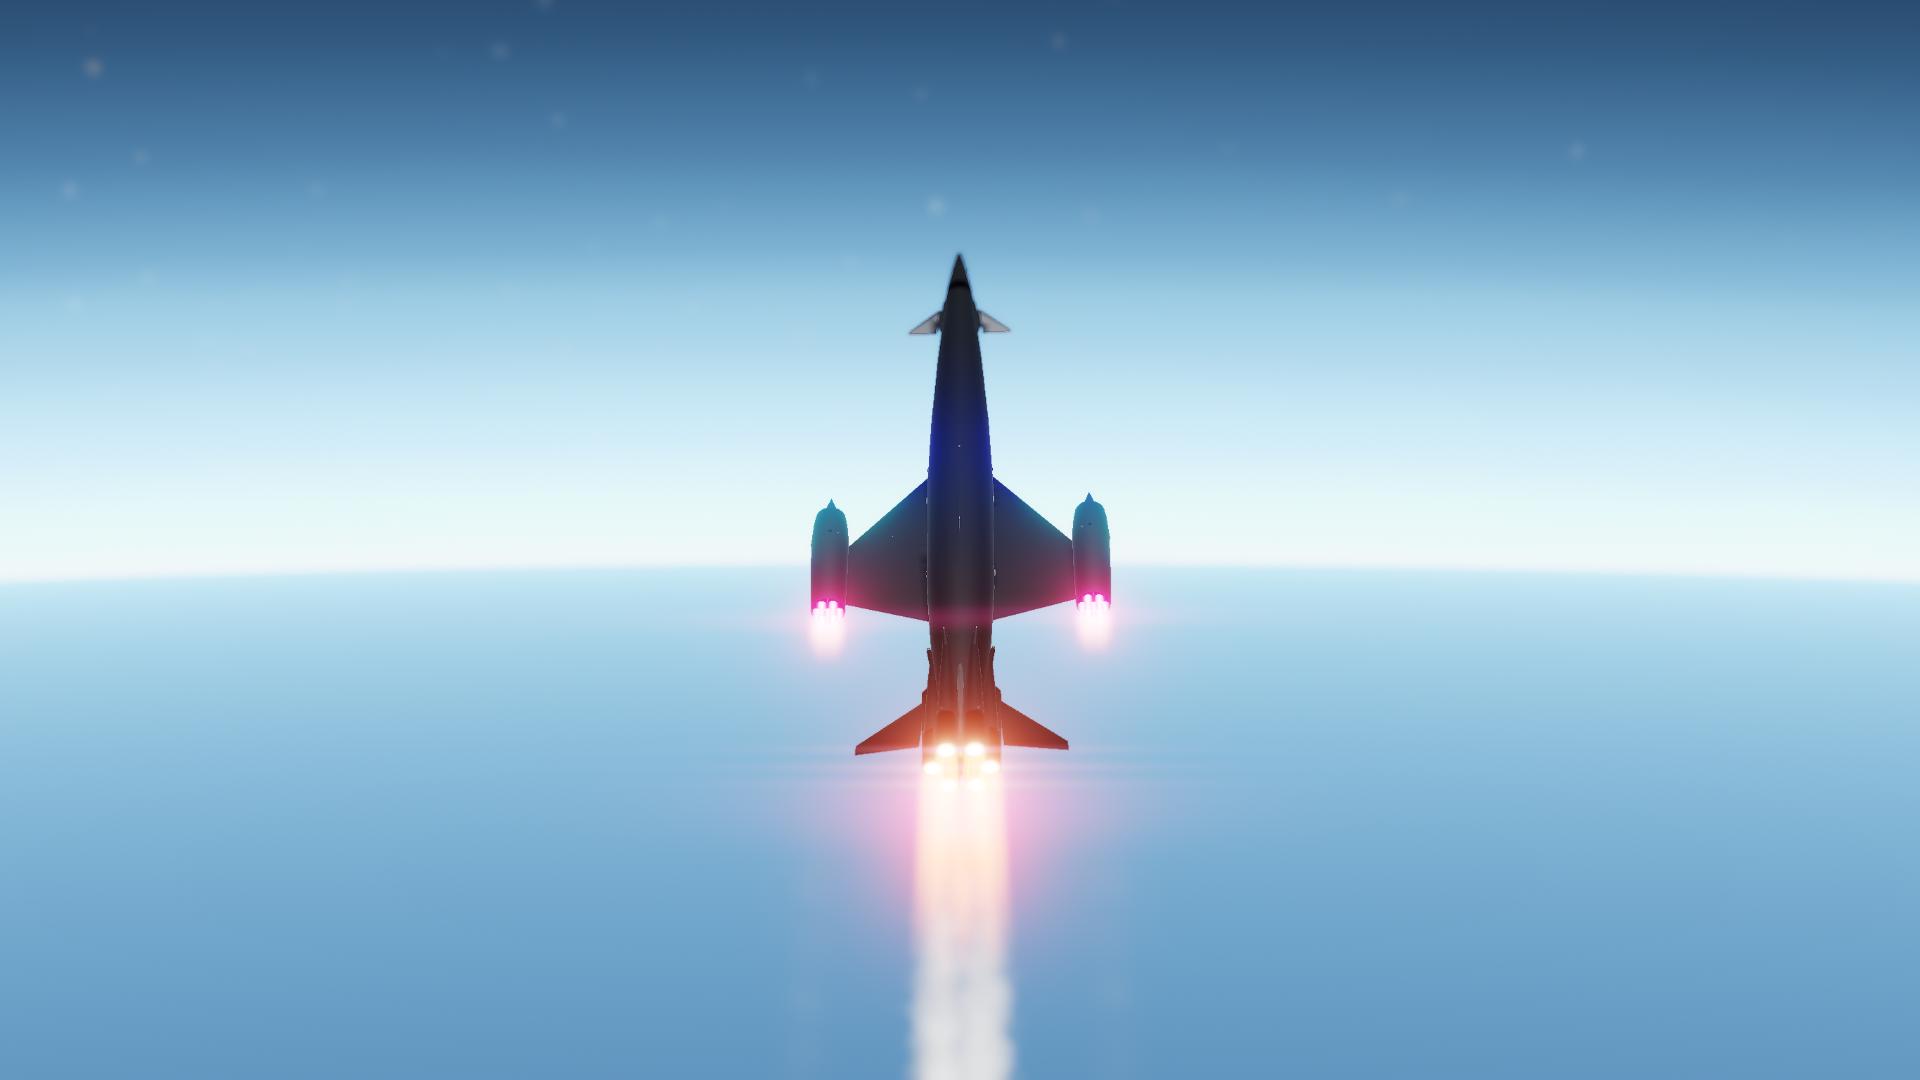
For take off, simply engage the jet engines, engage afterburners, and roll down the runway. At around 150 to 200 m/s, depending on your payload weight, the craft will be capable of taking off with the flaps, which are controlled by slider 1.
After take off, the jet engine part of the ascent is pretty flexible. You just need to get to around 18-21 km altitude, at mach 2.9-3.5
The recommended flight path for that is:
Coast between 0-5 km up until you get to mach 1.5, go up to 9-12 altitude km and get to mach 3, at this point your drop tanks should be empty, detach them when they are, and then fly up to 18-21 km altitude and level out to gain what speed you lost.
Afterwards, we need to do a “bounce” maneuver.
Let go of the pitch and bring the crafts nose level to the horizon. The crafts nose will start to fall afterwards, and with it the craft itself, rapidly losing altitude and gaining speed.
When you hit 15 km altitude, start pitching up again, as aggressively as possible. Your prograde should level out at around 10-12 km, and afterwards start rising again. Keep pitching up.
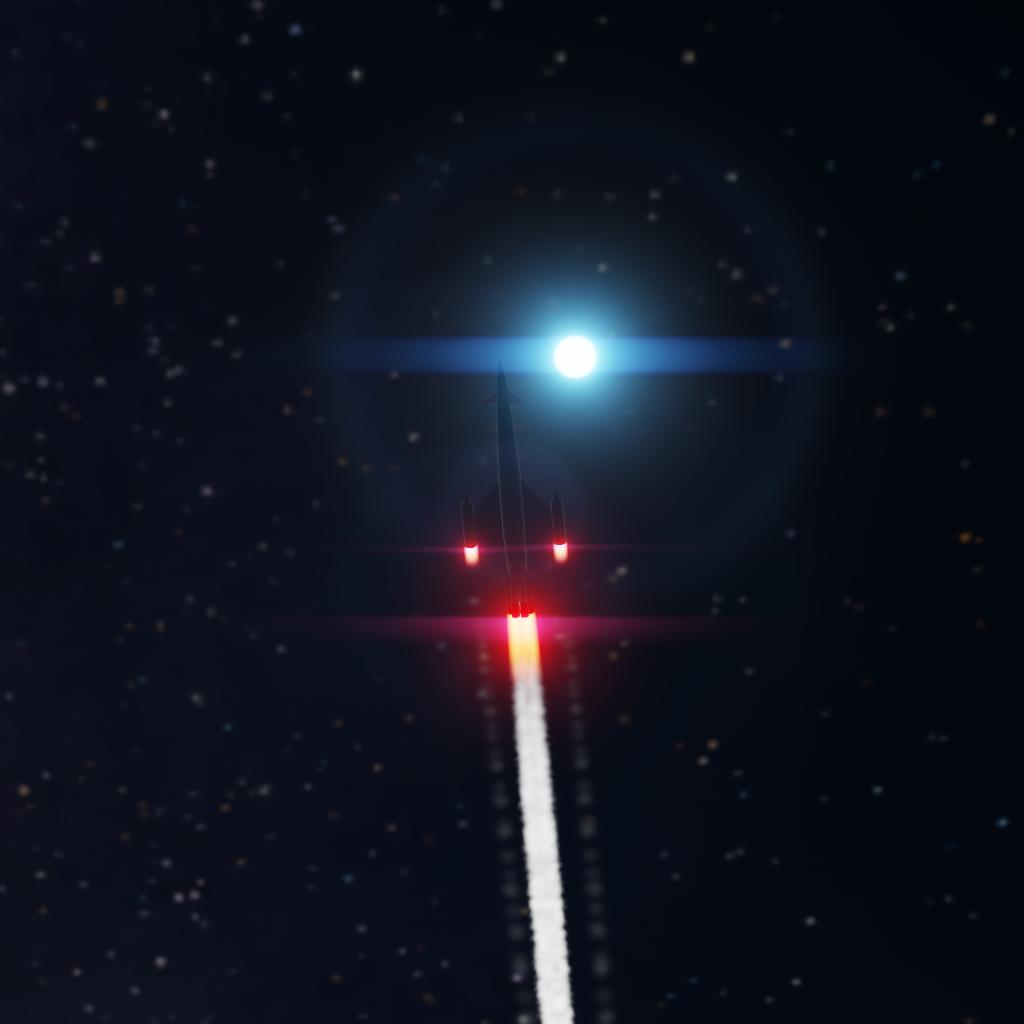
At 15 km altitude, engage the rocket engines, and keep pitching up.
This maneuver is done so that the craft takes a much steeper trajectory, compared to if you just engaged rocket engines at high altitude. Doing such leads to excessive drag losses and far less delta V in orbit, compared to the bounce maneuver.
At 27 km altitude your jet engines will shut off, keep pitching until 30-40 km altitude, at which point you may continue pitching or follow prograde, keep burning till your apoapsis is out of the atmosphere, and then circularize.
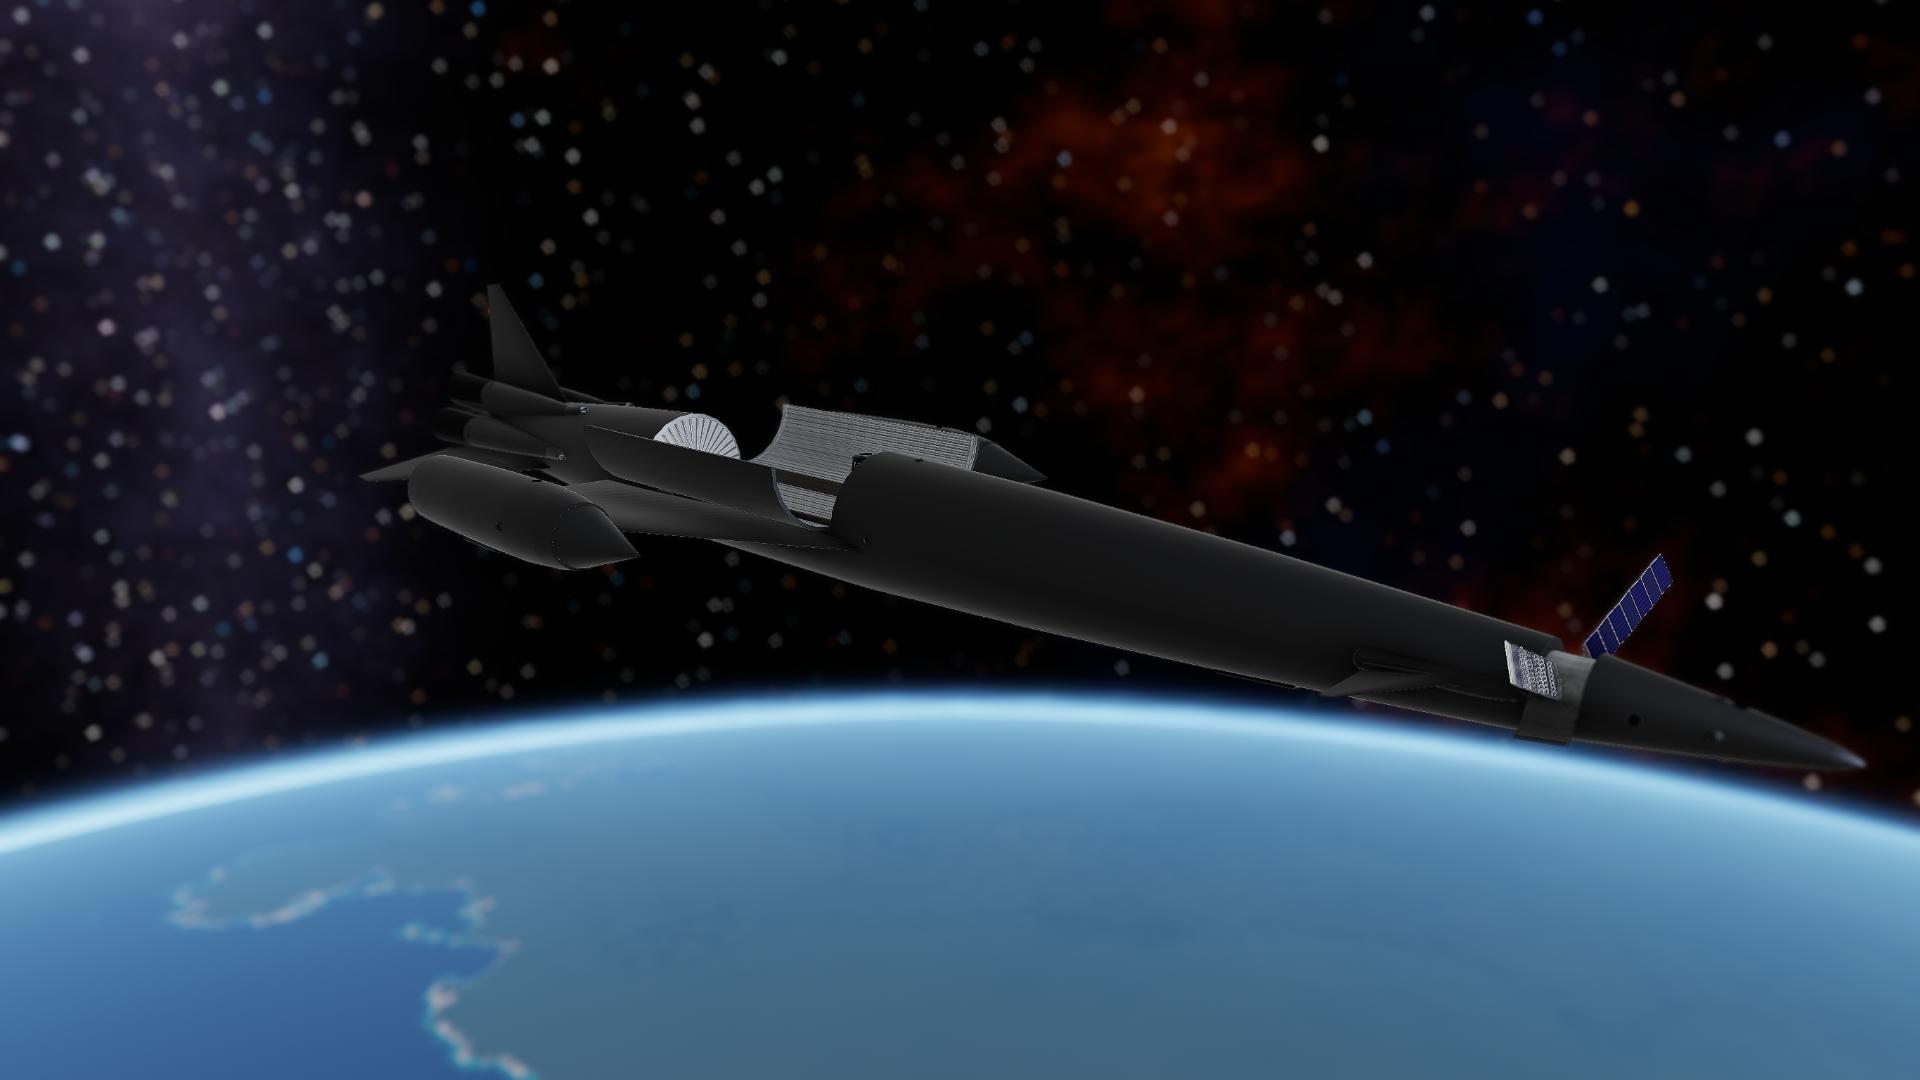
Congratulations, you are now in orbit!
You may now open up the cargo bay and solar panels, and do whatever mission is on the plan.
After you are done, it is time for reentry.
If you are coming in from a highly elliptical high energy orbit, use a few shallow aerobrakes to drop your orbit, and then reenter.
Ensure you are no heavier than 80 tonnes in total, if you are, get rid of fuel, ideally by burning retrograde. Then, simply lower your periapsis to around 40-60 km altitude, and enter the atmosphere with 45 degrees of AoA, with 0 bank angle, and Re-Entry Mode and RCS enabled.
After slowing down to around 1500-1000 m/s in atmosphere, you can turn off Re-Entry Mode and RCS, and simply glide or fly to a suitable landing area.
For landing, any open, mostly flat area will do, although a suitable landing strip is recommended.
-
The craft is fully useable in career, and %99 stock (I just XML edited a few of the cargo bays and intakes to increase their thickness to make them look nicer).
Staging is not necessary to use, you can simply just use the action groups, but its convenient.
Be careful with the SAS, it is fairly finnicky, and try not to use it with the heading lock.
Dont worry about the airbrakes hitting the ground, the craft automatically closes up the bottom most ones when near ground.
You can fly without the drop tanks, although be warned it will probably be harder.
The craft can technically lift 50 tonnes, perhaps even 60 tonnes, into LDO, although that is the very edge of its capability so I would not recommend that. 40 tonnes is safe.
The thermonuclear thomas takes up like 10 colors, so feel free to get rid of that horrifying thing and paint this thing in whatever color scheme you want.
-
The first purchase of the OV-909 comes free with a surprise payload! Buy one Pulsar, get one THERMONUCLEAR THOMAS WARHEAD for free!
GENERAL INFO
- Predecessor: Pulsar SSTO
- Created On: iOS
- Game Version: 1.3.204.1
- Price: $51,777k
- Number of Parts: 226
- Dimensions: 10 m x 19 m x 51 m
PERFORMANCE
- Total Delta V: 3.6km/s
- Total Thrust: 3.4MN
- Engines: 28
- Wet Mass: 2.93E+5kg
- Dry Mass: 57,862kg
STAGES
| Stage | Engines | Delta V | Thrust | Burn | Mass |
|---|---|---|---|---|---|
| 1 | 14 | 0m/s | 0N | 0s | 2.93E+5kg |
| 2 | 0 | 0m/s | 0N | 0s | 2.71E+5kg |
| 3 | 6 | 3.6km/s | 2.9MN | 3.4m | 2.71E+5kg |