

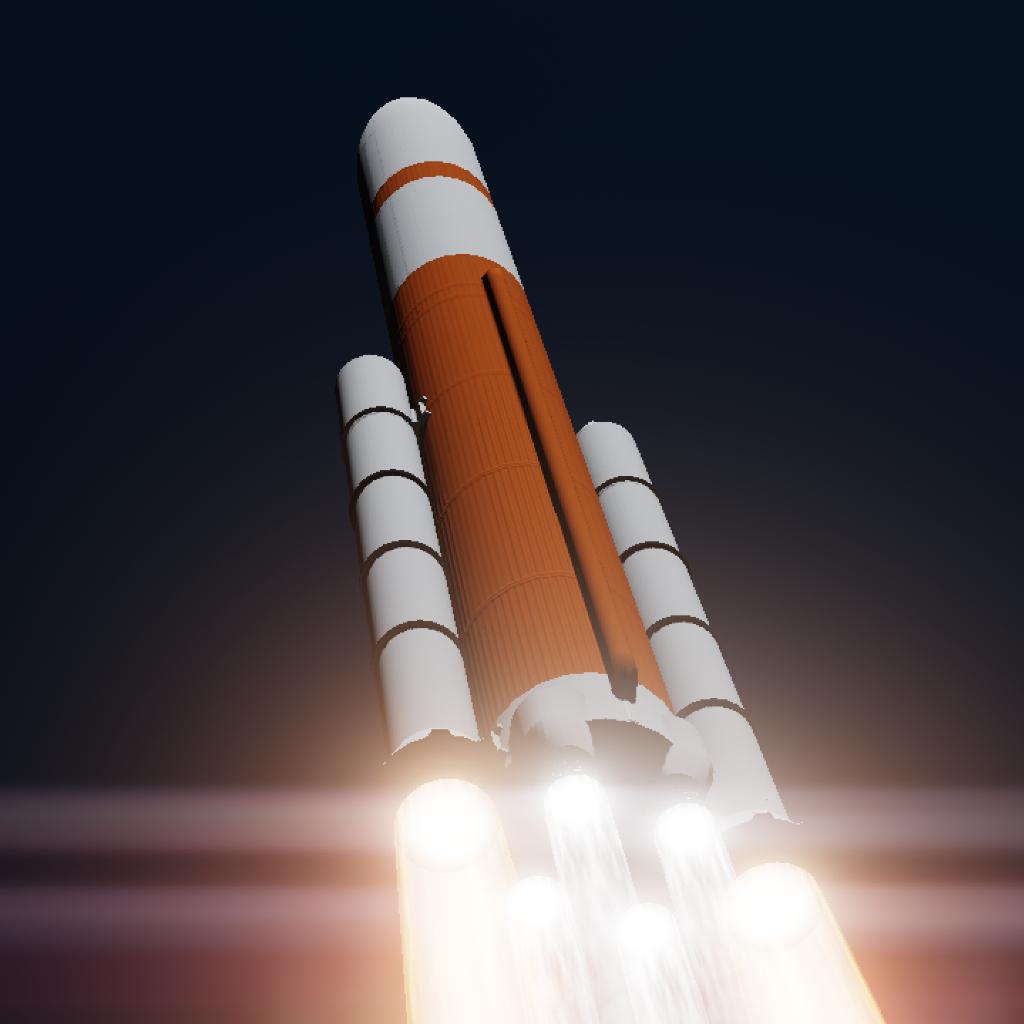
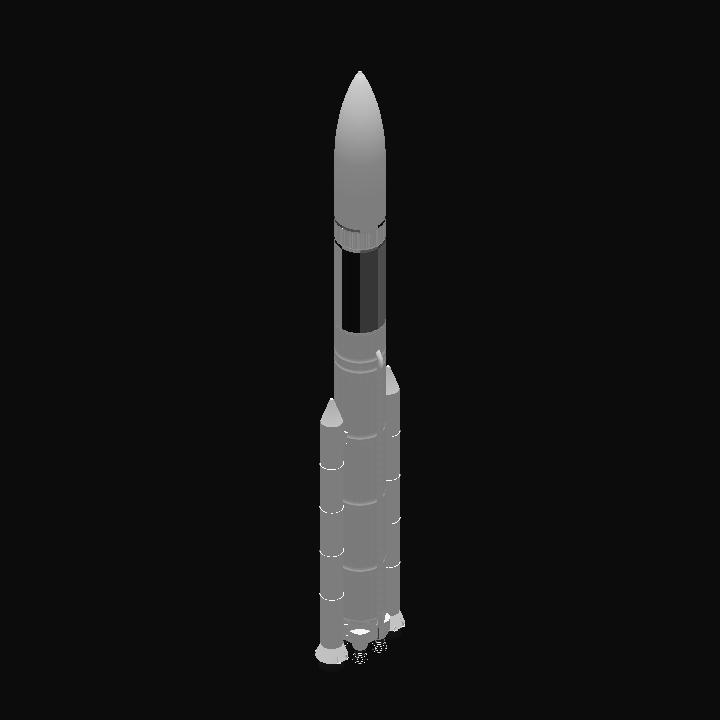
I guess this is the Simple™SLS Cargo
Heavily SLS Cargo inspired rocket but many things are different under the skin. The only things I strived to be as close as the actual one was the dimensions, fuels used, engine layout, engine sizes, engine thrust (yea it's the same with the real one) and the paint scheme but other than that, my building skills are far too weak for an actual replica so I made this in CAREER MODE meaning I don't get to use the fancy tinker tatter to tune the craft to perfection which means I have the right to call this a "Simple" craft.
Anyways, let's get talking about the actual rocket itself.
First, I want to mention about the complex part of this craft which is the parameters (yes I lied)
In this section, we will discuss the launch and flight parameters. These parameters determine the rocket's flight direction and attitude. As I said, these parameters can be changed by activating AG2.
• Heading: It is just selecting your desired heading in reference to the NavSphere but a warning for those who will launch with a heading that's different from 90° (East) or 270° (West) that this program does not include a roll program so you will have to do the roll maneuver manually.
• StopAngle: Stop Angle refers to the pitch angle in which the gravity turn will end and the rocket will maintain that pitch until the velocity vector has less pitch than the current pitch of the rocket. I recommend to stop the gravity turn in 15°, 10° or °0 for general orbits but if you want a low apoapse say around 500km-100km, then you'll have to end the gravity turn at a negative pitch to bring down the velocity vector much faster but don't over-do it as you may end up having your apoapse way too low for your target orbit. Of course this won't matter if you just want to adjust your trajectory/orbit with the 2nd stage but by doing this appropriately, you will save time and fuel which are very important in spaceflight.
• Interval: How much time does the gravity turn wait until it will reduce the current pitch again and again until the Stop Angle pitch has been achieved. For example, my stop angle is at 15° and my interval is 2 thus in turn the gravity turn program will reduce the rocket's pitch every 2 seconds until the current pitch reaches 15°. For this, I recommend 1 as the interval for medium to light payloads but as the payload gets heavier, the TWR also gets lower meaning more time is spent in atmosphere during ascent because of the slower acceleration. Because of this, we need to increase the Interval if the payload is heavy in order to keep the rocket in normal performance during flight and also help reduce drag and avoid making the rocket tip over if it turns too fast with not enough speed.
• And lastly we have Increment: The Increment is the amount of pitch reduced by the gravity turn after each Interval. Just like the Interval this is also involved in reducing the pitch and the way you adjust the Increment does also follow the concept of adjusting the Interval but in reverse. As you might think, the Increment is the value of which how much pitch is reduced per Interval so it needs to be a negative value or otherwise we wouldn't be reducing pitch but rather adding more of it. So, same as the Interval, we will adjust the Increment based on our payload mass. For most medium to light payloads, I recommend that you set the Increment to -0.66 as this should give you a normal ascent and gravity turn pitchdown rate. For heavy payloads, we need to decrease the amount of pitch we are reducing per Interval so I say around -0.5 to -0.4 is a good guess as the Increment for them. It is important to note though that I only recommend to adjust the Increment only if adjusting the Interval isn't enough or it is causing problems with the ascent. I see the Increment as backup solution if problems arise during the gravity turn and if the rocket already performs fine with the Interval then I suggest to no longer bother adjusting this one.
Now that you know these 4 very important things, I'm gonna tell you what they're used for.
They are used within the program to guide the rocket into the position the player wants it to achieve and thus making you able to customize the rocket based on your needs of it.
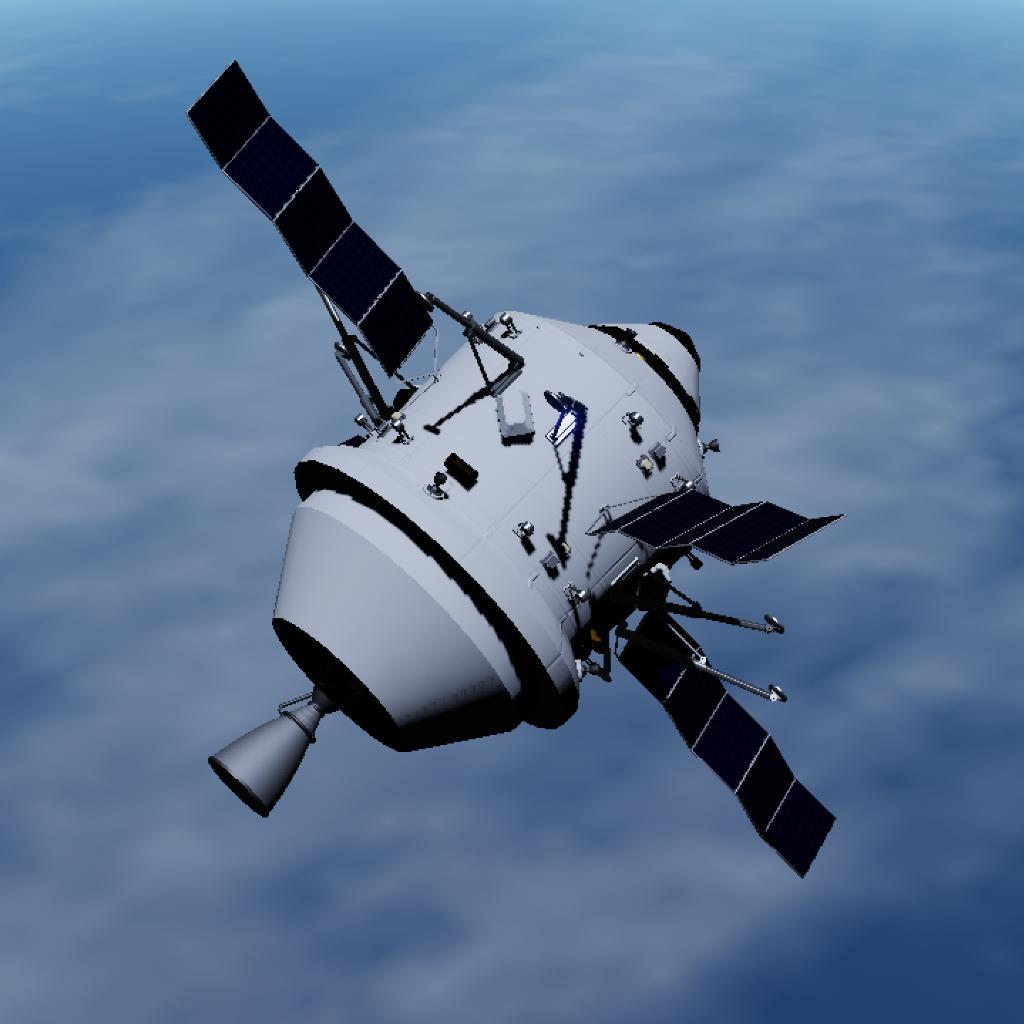
Also the ideal values that I mentioned in the parameters section were tested with the payload bus so please don't replace or remove the payload bus cause I haven't tested the rocket without it yet and the mass of the bus (fully fueled) is over 100 tons so the rocket can definitely lift heavy stuff up maybe even with the bus fully fueled but further testing is required for those questions.
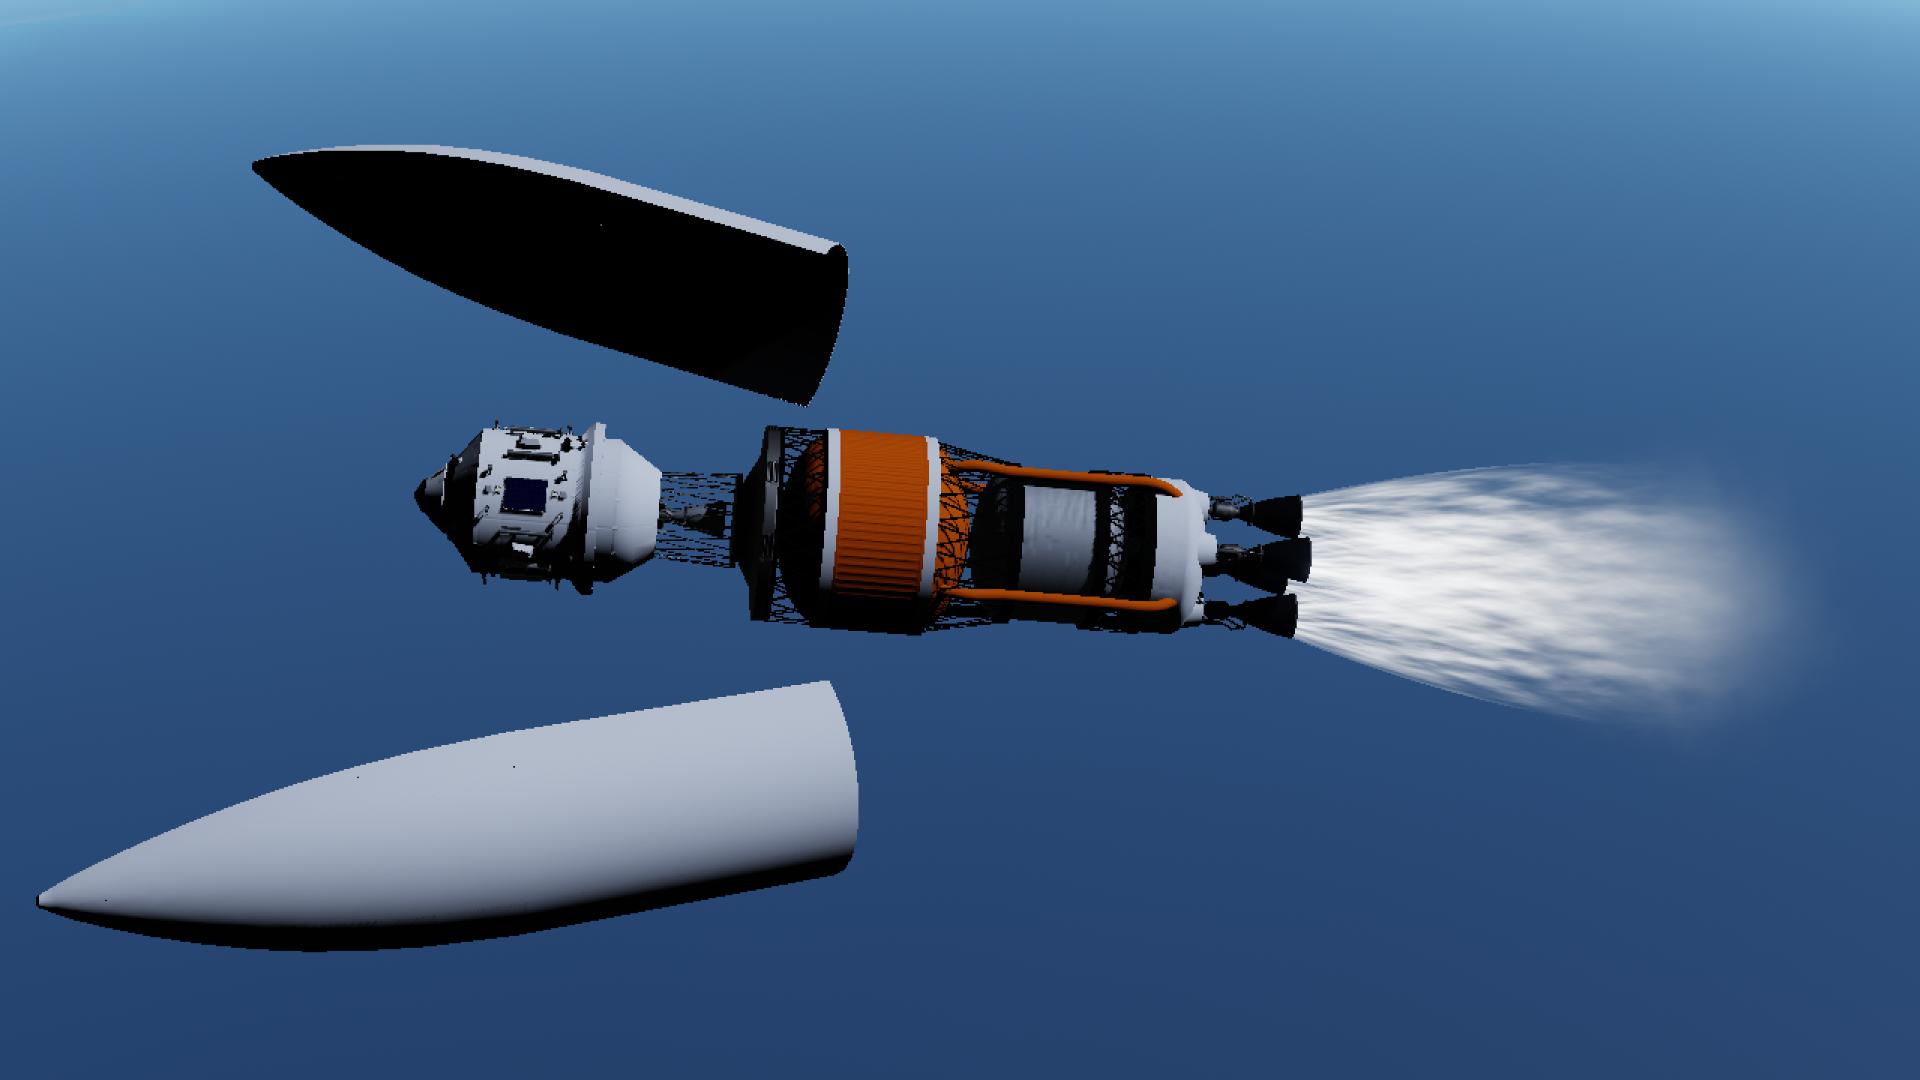
The payload bus is actually a payload bus but with a heatshield and a parachute for landing in the inner planets with atmosphere. You might not see it but the engine section of the bus can be completely severed from the bus itself in order to expose the heatshield beneath but you will lose your main source of propulsion so you're only left with the RCS for that. I recommend only jettisoning the engine section once you have a guaranteed trajectory that passes through the atmosphere to perform a re-entry towards the planet you want to land on. Beware though because some or maybe most of the instruments/equipments on the surface of the bus might explode during re-entry because they're unprotected from the heat.
So yeah the payload bus is actually quite versatile. It can deliver payloads to a wide range of orbits, it can act as a satellite, a probe, and an atmospheric lander in one package. This is why made it in career mode to have a heavy rocket that can lift any payload you throw at it and have a versatile bus that can perform various tasks for various contracts. The only problem here is that this for the career mode requires you to have unlocked most of the rocket related tech in the tech tree and it needs the DSC Launch Pad for the best experience which is alright for most of us but is too big of an ask for the beginners to acquire.
Overall I think It's alright like I could've done more detailing but I'm too lazy to do that alone but that also benefits me and some other mobile players because lack of detail = less parts = more performance. I'll wrap this up here. Thanks and have a great time :)
GENERAL INFO
- Successors 2 craft(s)
- Created On: Android
- Game Version: 1.0.909.1
- Price: $146,887k
- Number of Parts: 262
- Dimensions: 115 m x 10 m x 17 m
PERFORMANCE
- Total Delta V: 7.6km/s
- Total Thrust: 40.8MN
- Engines: 11
- Wet Mass: 2.34E+6kg
- Dry Mass: 2.73E+5kg
STAGES
| Stage | Engines | Delta V | Thrust | Burn | Mass |
|---|---|---|---|---|---|
| 1 | 4 | 1.3km/s | 8.5MN | 5.1m | 2.34E+6kg |
| 2 | 2 | 1.6km/s | 31.4MN | 83s | 2.34E+6kg |
| 4 | 4 | 1.2km/s | 431kN | 11.9m | 2.94E+5kg |
| 5 | 1 | 3.5km/s | 530kN | 9.1m | 1.36E+5kg |


Also the Delta-V in the designer is a lie! It's more like 9-10km/s of ∆v if you combine the solid boosters and the RS-25 engines together in the same stage but I separated them for realistic ignition sequence.